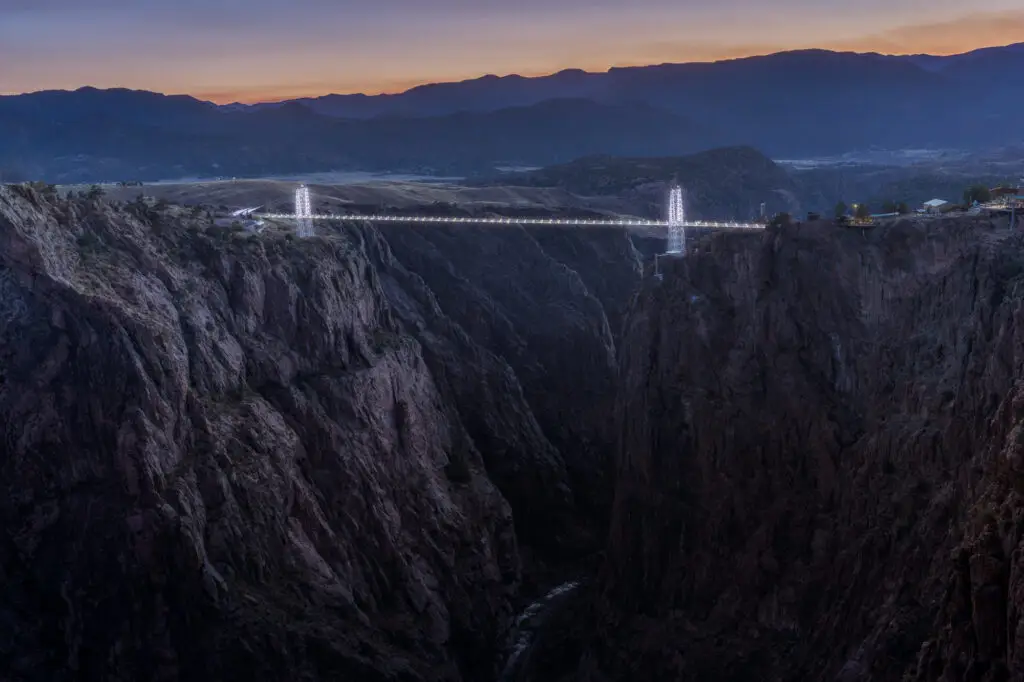
Have you ever stood in front of a massive, jagged mountain range or a stunning geological formation, snapped a photo, and felt completely let down by the result when you looked at your screen?
It’s a classic frustration for anyone getting started in outdoor photography. You see this epic, grand scene with your eyes, but the camera flattens it out. The vast space feels empty, and the final image looks more like a flat postcard than the majestic view you actually experienced.
When beginner photographers ask me how to level up their images and move past these flat snapshots, they usually expect me to talk about expensive gear or complex Colorado landscape photography camera settings. While settings matter, the real breakthrough isn’t technical—it’s compositional.
To fix flat photos, the pros use a technique I call Photography Element Stacking.
What is Photography Element Stacking?
Think of a standard landscape photo as a single flat note. Element stacking is turning that note into a rich, complex chord.
Instead of just pointing your lens at a distant subject, you intentionally look for distinct, powerful natural elements at different distances from your lens and “stack” them front-to-back within a single frame. This creates an immediate illusion of three-dimensional depth on a two-dimensional screen, guiding the viewer’s eye on a deliberate journey through your photograph.
To see how this works in the field, let’s look at two completely different Colorado environments and break down exactly how to stack your elements for a world-class composition.
Example 1: High-Alpine “Story Stacking” (4-Layer Blend)
The first way to use this technique is by stacking a living story alongside natural landscape layers. Instead of taking a tight, isolated wildlife portrait, use a wider perspective to weave a magnificent animal directly into the layers of the land.
By pulling back, you can capture a world-class, four-layer element stack when targeting Colorado wildlife photography:
- Layer 1 (The Foreground Anchor): A perfectly still, glassy alpine pond.
- Layer 2 (The Subject): A massive Colorado moose standing quietly in the shallows of that pond.
- Layer 3 (The Midground Context): A vibrant, glowing ridge of Colorado autumn aspen trees lining the far bank.
- Layer 4 (The Background Scale): A jagged, snow-dusted mountain peak towering over the entire scene.
The X-Factor Layer: Now, look at the water at the moose’s feet. Because the pond is glassy, you capture a crisp, dramatic reflection of that distant mountain peak right in the foreground. By utilizing the reflection, you fold the background scale directly into your foreground anchor. You’ve stacked four distinct elements into a single, cohesive narrative that captures an immersive sense of place.
Example 2: Geological Badlands (5-Layer Landscape Stack)
You don’t need wildlife to make element stacking work. You can apply this exact principle to pure landscape environments, like the striking, colorful clay formations found out east at the Colorado Paint Mines.
When you are shooting a wide geological canyon, the challenge is managing the chaos and guiding the viewer’s eye. Here is how you stack a perfectly balanced, five-layer landscape frame during sunset:
- Layer 5 (The Sky Canvas): A ceiling of dramatic, interesting clouds that fill the upper third of the frame without being overly messy or distracting, grounding the entire sunset.
- Layer 4 (The Atmosphere): A brilliant, glowing sunset that spreads beautiful, soft, even light across the entire canyon, avoiding harsh, blocked-out shadows.
- Layer 3 (The Main Subject): The massive, towering hoodoo rock formations, glowing in their natural shades of stark white, deep ochre, and rich purple clay.
- Layer 2 (The Midground Context): A solitary, clean desert bush sitting just off-center along the wash—adding a subtle splash of contrasting green texture without creating a messy or distracting frame.
- Layer 1 (The Leading Line): Natural water run-off paths or washed-away sand channels in the earth, positioned at the bottom of your frame to draw the viewer’s eye directly into the canyon.
What If You Can Only Find Two Layers? (The Two-Layer Rule)
Let’s be realistic: when you’re out on the trail, nature doesn’t always hand you a perfect four or five-layer composition on a silver platter. There will be days when you simply can’t find a clean foreground wash or a cooperative moose.
If a scene only allows you to capture two layers, that is completely fine—but it means those two layers have to work twice as hard to be interesting.
When you are restricted to a simple two-layer shot (like a subject and a background), you have to rely on atmospheric conditions, timing, and lens compression to create drama.
Two-Layer Setup A: The Atmospheric Telephoto Compress
- Layer 1 (The Subject): A jagged mountain peak or a dramatic ridge of exposed rocks.
- Layer 2 (The Atmosphere): A thick, heavy layer of low-hanging mountain fog wrapping around the stone.
The Pro Tip: Instead of shooting wide, throw on a telephoto zoom lens. Zooming in tight physically compresses the scene. While this actually flattens the physical distance, it stacks the heavy fog tightly against the jagged rocks, making the final photograph look incredibly moody, intimate, and unique.
Two-Layer Setup B: The Golden Hour Sky Canvas
- Layer 1 (The Subject): A stark mountain silhouette.
- Layer 2 (The Background): A brilliant, burning sunrise or sunset throwing vibrant color across the horizon.
The Cardinal Sin: Avoid the “Blank Blue Sky”
Whether you are stacking two layers or five, there is one absolute cardinal sin you want to avoid at all costs in outdoor photography: shooting a magnificent subject against a bald, empty, boring blue sky.
A cloudless blue sky offers zero texture, zero contrast, and zero story. It acts like a giant vacuum in your frame that sucks out all the drama. If you find yourself looking at a beautiful mountain range under a completely blank sky, don’t just take the standard snapshot. Change your approach:
- Tighten Your Frame: Zoom in with a telephoto lens to crop out the sky entirely and focus purely on the textures of the rock, shadows, or changing foliage.
- Wait for the Light: If you have to include the sky, wait until the sun drops below the horizon so that the empty blue turns into a deep gradient of twilight color.
Remember, Photography Element Stacking isn’t about hitting a specific number every time you press the shutter; it’s an intentional mindset. It forces you to stop accepting flat postcards, look critically at what nature is giving you, and build a frame that actually has something to say.
What do you think?
Do you find yourself struggling to get real depth in your outdoor shots? Have you visited the Paint Mines or shot reflections in the high country? Let me know in the comments below, and let’s talk about what elements you’re hunting for on your next shoot!