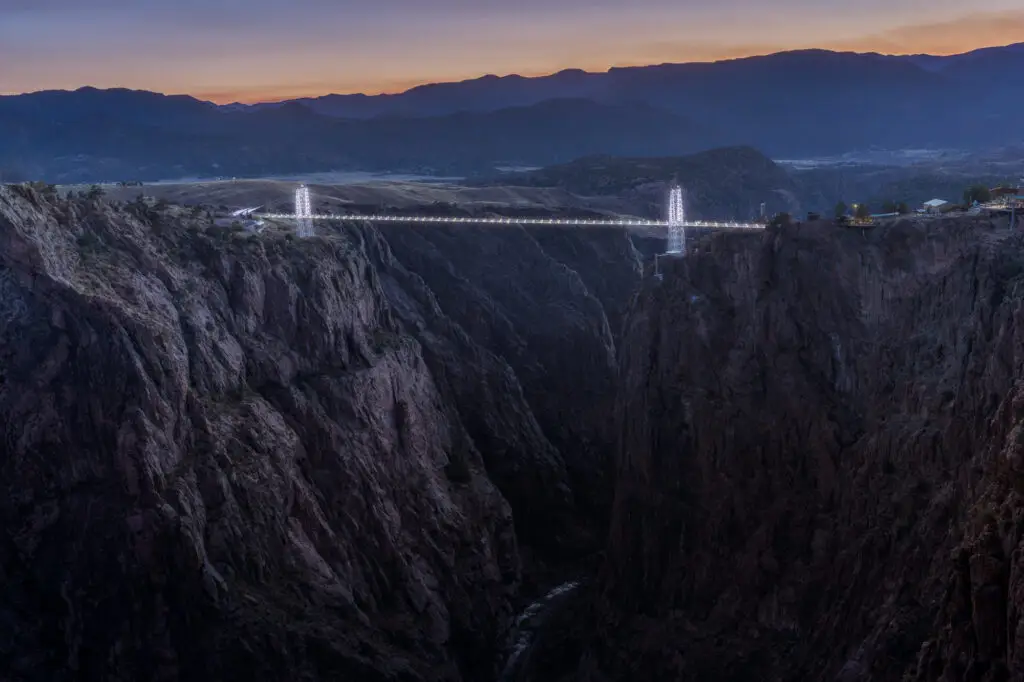
You’re standing at the edge of a breathtaking alpine basin in the heart of the Rocky Mountains. The peaks tower above you, jagged and monumental. You pull out your camera, frame the shot, and press the shutter. But when you look at the LCD screen, that massive, imposing summit looks remarkably… flat. It looks small, pushed back, and completely stripped of its natural grandeur.
It’s one of the most frustrating experiences in landscape photography, and it happens to almost every beginner.
The secret to making mountain peaks look grand isn’t tilting your lens up to fit the summit; it’s keeping your camera body parallel to the ground or tilting it slightly down to elongate the peak’s vertical planes.
When you tilt your camera upward, you trigger a visual phenomenon that completely diminishes the scale of the landscape. Let’s break down exactly why this mistake happens, how a simple physical tilt fixes it, and the specific gear strategies you can use to pull it off—even when the Colorado terrain pins you into a tight corner.
The Amateur Mistake: The Fatal Upward Tilt
When beginners want to capture a tall object, their natural instinct is to point the camera skyward. While some restricted scenes might force your hand, you want to try your absolute hardest to avoid this.
When you tilt your camera up at a steep angle, you introduce severe perspective distortion. Because the camera sensor is no longer parallel to the vertical lines of the mountain, the top of the peak actually recedes away from your lens. This creates a “keystoning” effect that compresses the mountain’s features, sloping the rock backward and making the summit look significantly smaller and flattened.
The Pro Secret: Elongate the Peaks by Looking Down
To make a mountain look monumental and looming, you need to keep those vertical planes crisp and strong. The best way to do this is to find a slightly elevated vantage point—like a ridge, a shelf, or a trail opposite the valley floor—and tilt your camera lens slightly downward.
By pointing the lens slightly down, you accomplish two critical things at once:
- You Elongate the Lines: You correct the perspective distortion, allowing the natural geology of the peak to tower straight up into the top of your frame, preserving its true, majestic scale.
- You Capture Compelling Foregrounds: Pointing the camera slightly downward allows you to pull interesting foreground elements into the lower third of your frame.
Bringing the foreground into play is how you anchor a mountain landscape. Whether it’s a field of alpine wildflowers, a jagged granite boulder, or a reflective glacial tarn, a prominent foreground gives the viewer an entry point into the photo. More importantly, it creates immediate juxtaposition. When a viewer can compare a crisp, detailed rock right in front of the lens to a massive peak towering behind it, the true sense of scale instantly snaps into place.
Mastering Tight Spaces: The 16-35mm Advantage
Out on the trail, theory often collides with reality. If you are standing in an open valley, a versatile workhorse like a 24-70mm lens is phenomenal for framing clean, compressed mountain vistas. But Colorado’s wilderness rarely hands you perfect spacing.
What happens when you are physically boxed in? If you’re backed up against a sheer cliff face, deep in a narrow canyon basin, or standing on a restricted, tight ledge, space becomes a premium. With a standard zoom, your only option to fit the mountain into the frame is to tilt the camera up—instantly flattening the peak.
This is exactly where an ultra-wide zoom, like a 16-35mm lens, becomes an absolute problem solver.
The Restricted Space Dilemma
- Using a Standard Lens (like a 24-70mm): You are often forced to tilt the camera up just to fit the mountain in. This compresses and flattens the peaks, loses the dramatic foreground entirely, and ultimately leaves the mountain looking diminished.
- Using an Ultra-Wide Lens (like a 16-35mm): The massive field of view allows you to fit the peak while keeping the camera completely level. This unlocks the ability to use a downward tilt, which exaggerates the scale, depth, and grandeur of the landscape.
The wide field of view provided by a 16-35mm lens gives you the physical “breathing room” required to keep your camera parallel to the landscape or angled slightly downward, even when you’re trapped in cramped quarters.
Furthermore, ultra-wide lenses naturally stretch objects that are close to the glass. When you execute a slight downward tilt with a 16-35mm lens, you stretch the immediate foreground right into the viewer’s lap while the mountain summit dominates the upper half of the frame. It cheats the perspective in the best way possible, creating an incredibly dynamic, layered, and powerful composition.
A Quick Field Note on Edge Distortion: While an ultra-wide lens is a lifesaver in tight spots, remember to keep your primary mountain peak centered horizontally within the frame. If a massive summit gets pushed too close to the extreme upper corners of a 16mm focal length, the wide-angle stretching can make the peak look unnaturally warped or pulled sideways. Keep the camera level or slightly down, and let the summit rule the upper-middle section of your composition.
Summary: Your Next Mountain Photo Checklist
The next time you hit the trails to photograph Colorado’s iconic peaks, break out of the amateur habit of standing at the bottom of the valley and pointing your lens up. Instead, follow this blueprint:
- Seek Elevation: Look for a ridge or vantage point that lets you look across at the landscape.
- Go Wide in Tight Spots: Pack a 16-35mm lens so you never have to compromise your camera angle just to fit the sky in.
- Tilt Downward: Keep your camera body square or tilt it slightly down to elongate the mountain’s vertical lines.
- Anchor Your Foreground: Find a rock, trail, or water feature to fill the lower third of your frame and establish an undeniable sense of monumental scale.